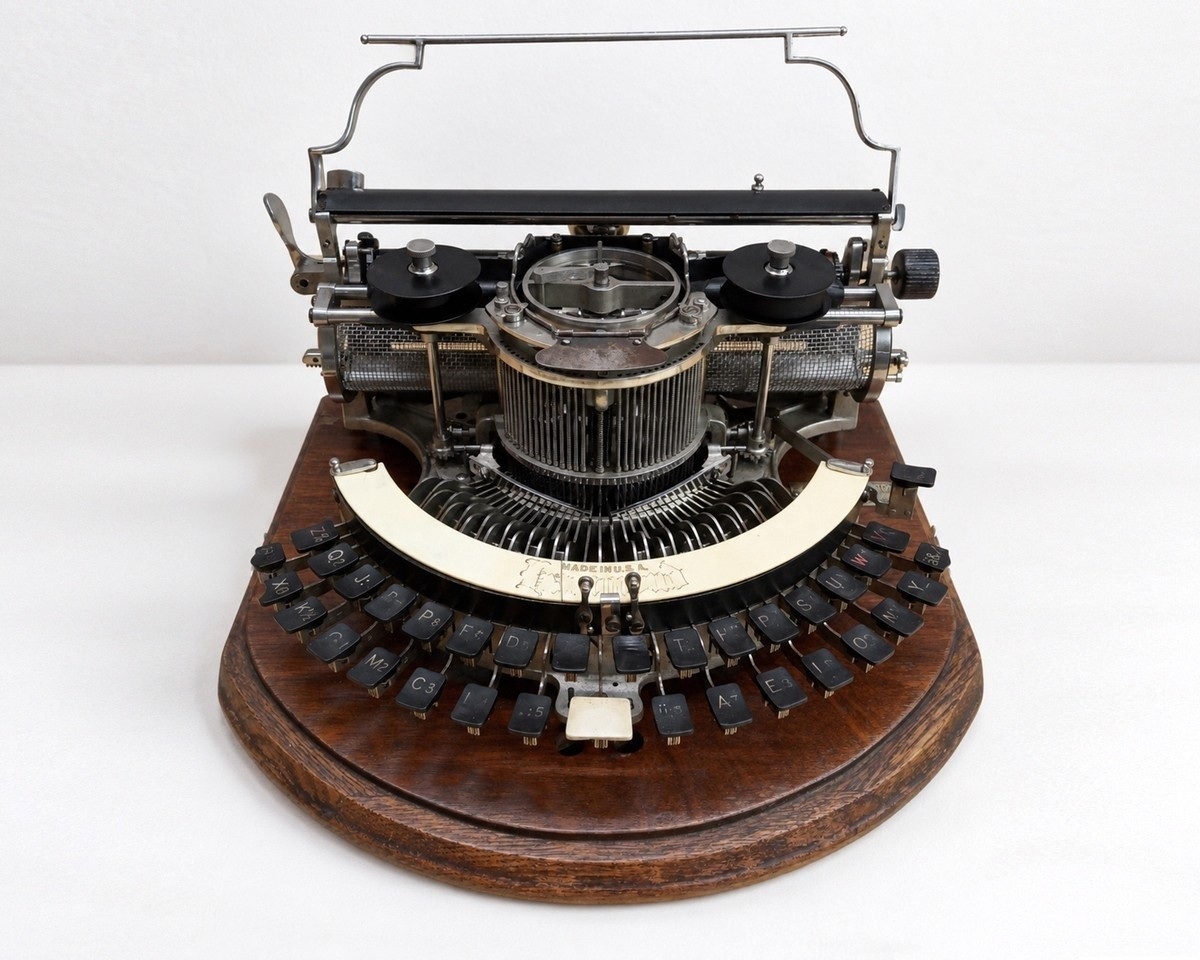
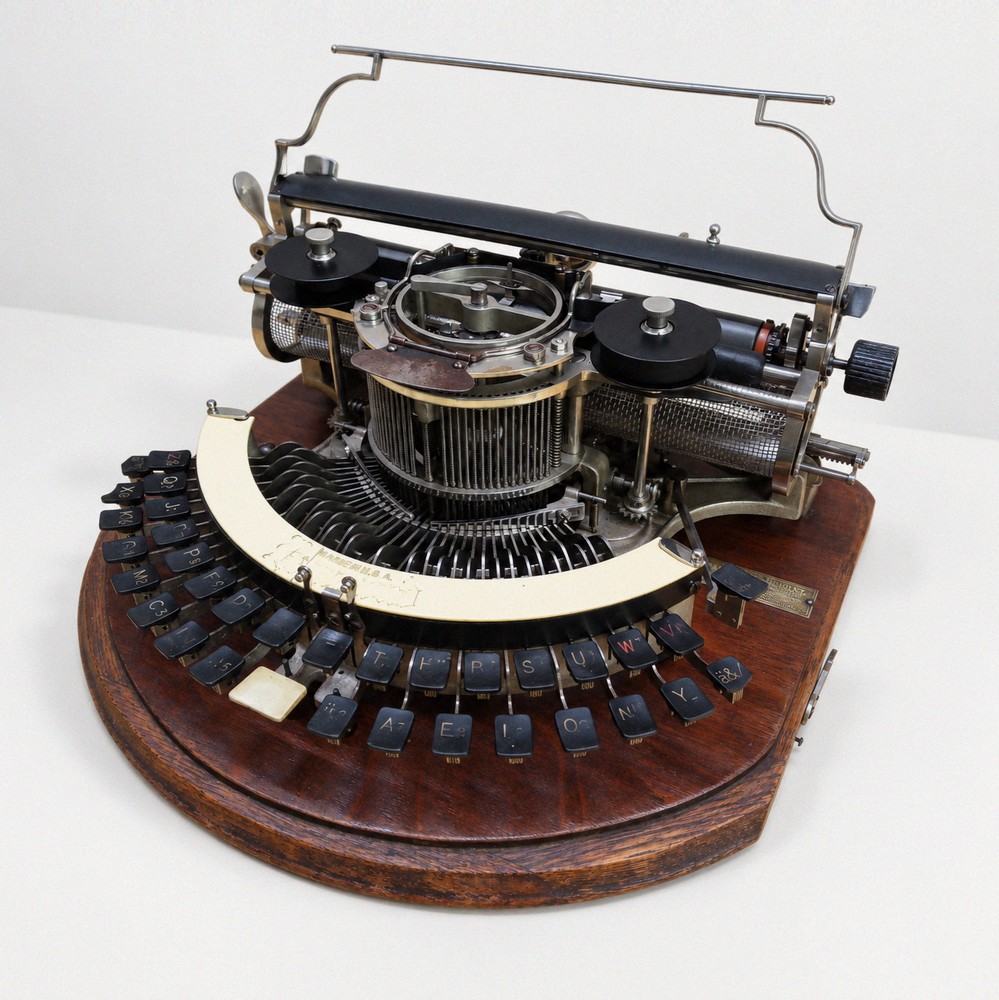
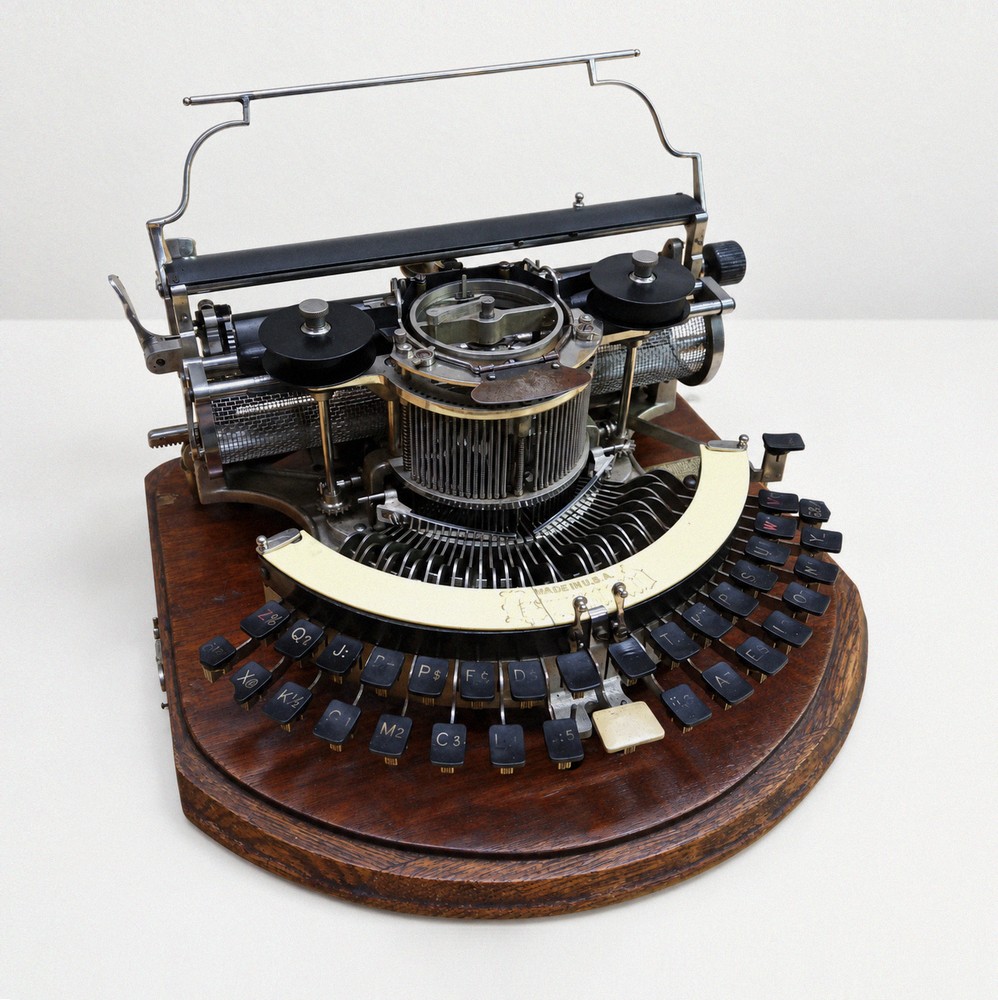



A conservative restoration of this splendid Hammond 2 fitted with the Ideal keyboard. Hammond was one of the earliest manufacturers in the world to successfully commercialise a typewriter. Its writing mechanism is remarkably sophisticated and differs considerably from the conventional typebar system that would later become standard. The characters are embossed on a semi-cylindrical type shuttle and arranged in three rows. When a key is pressed, the shuttle automatically rotates either to the right or to the left according to the position of the selected character, until its movement is stopped at the corresponding position.
Printing is achieved by an equally unusual system. Instead of striking the paper against a conventional rubber platen, a spring-loaded hammer positioned behind the sheet forces the paper against the selected character on the type shuttle. This ingenious arrangement makes the Hammond mechanism fundamentally different from that of most later typewriters: the platen does not act as the printing surface, while the actual impression is produced by the movement of the hammer behind the paper.
The restoration was carried out conservatively, preserving the original components and finishes wherever possible while returning the mechanism to full working order. More than a century after its manufacture, the Hammond still provides an excellent demonstration of one of the most original and sophisticated solutions developed during the early history of the typewriter.
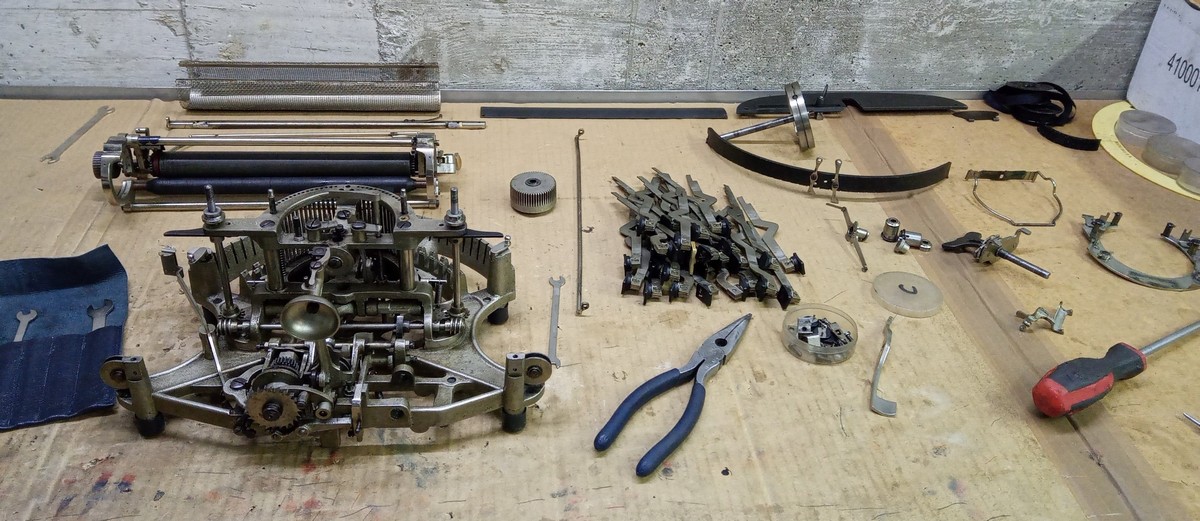
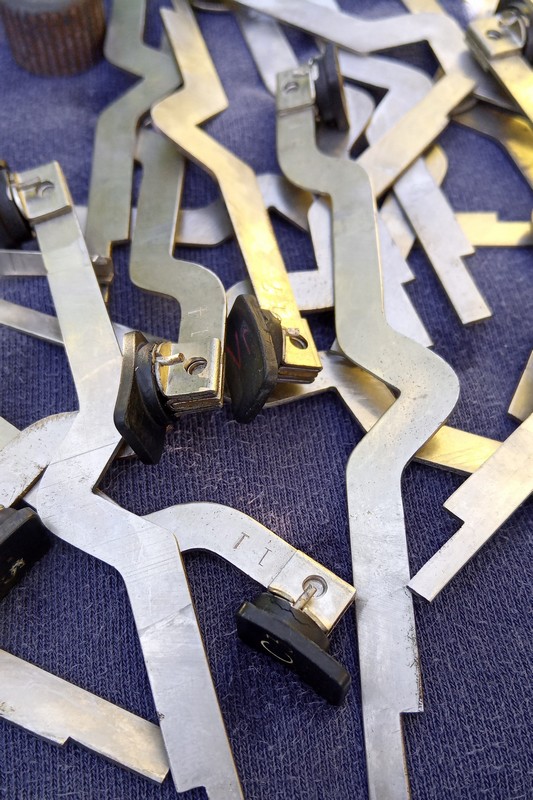
Before proceeding with the restoration, the machine was carefully disassembled into its main components. The Hammond has a particularly unusual keyboard mechanism: the rods connected to the keys act as rocker-like levers, pivoting around a central fulcrum much like a small seesaw. Once the retaining cover near the pivot is removed, these levers can be lifted out quite easily, allowing the keyboard and the main mechanism to be separated for cleaning and further restoration work.
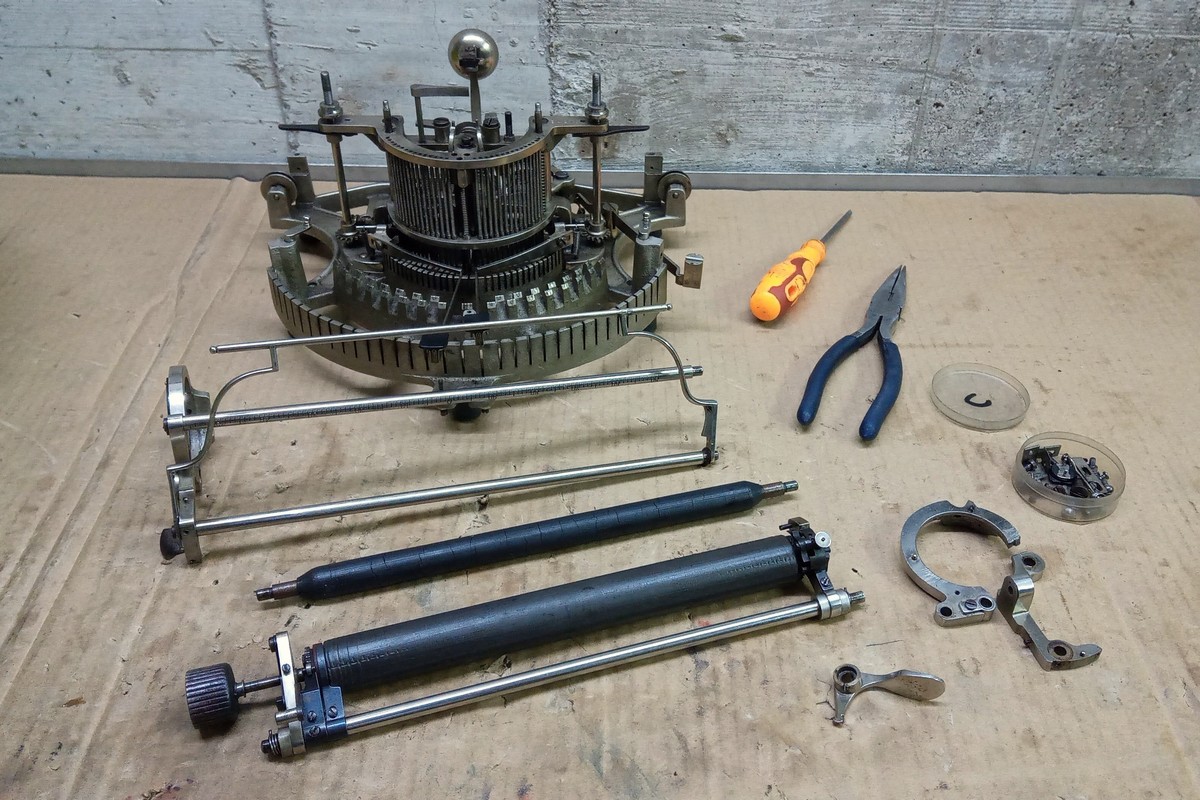
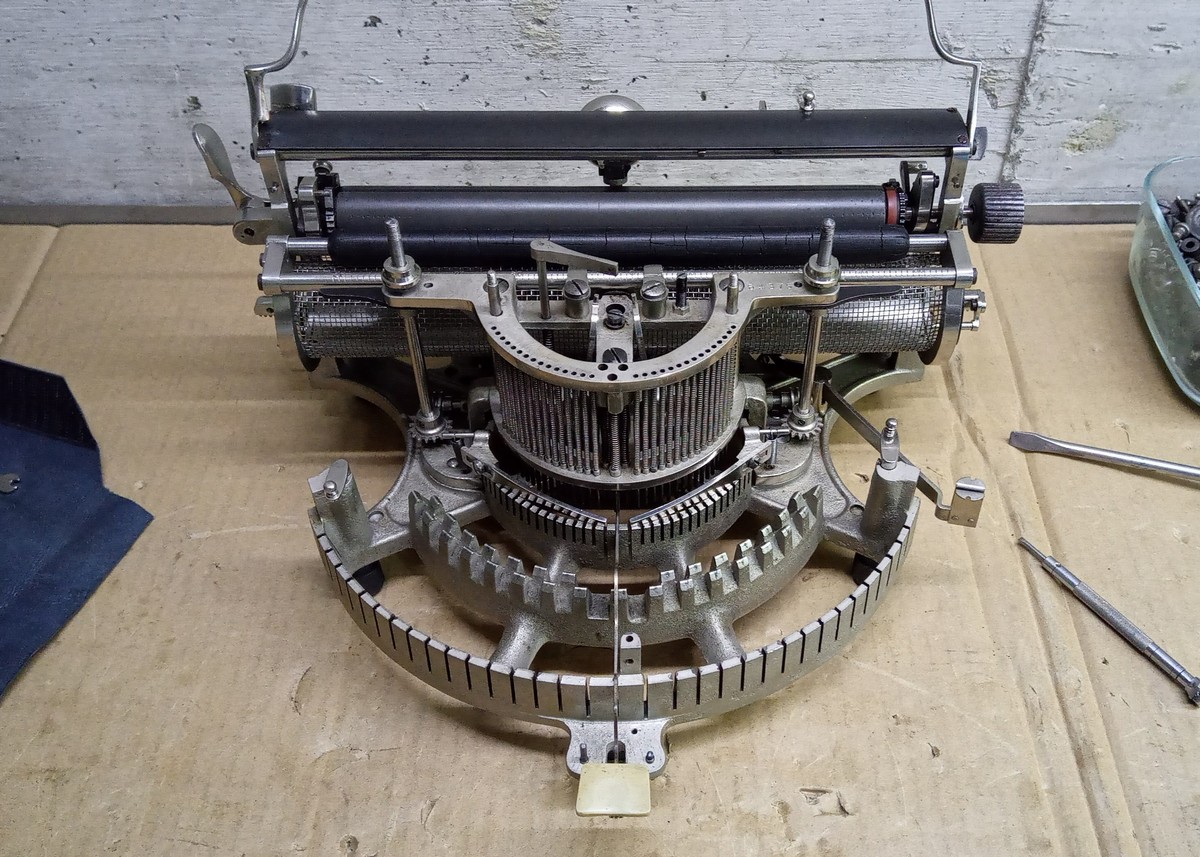
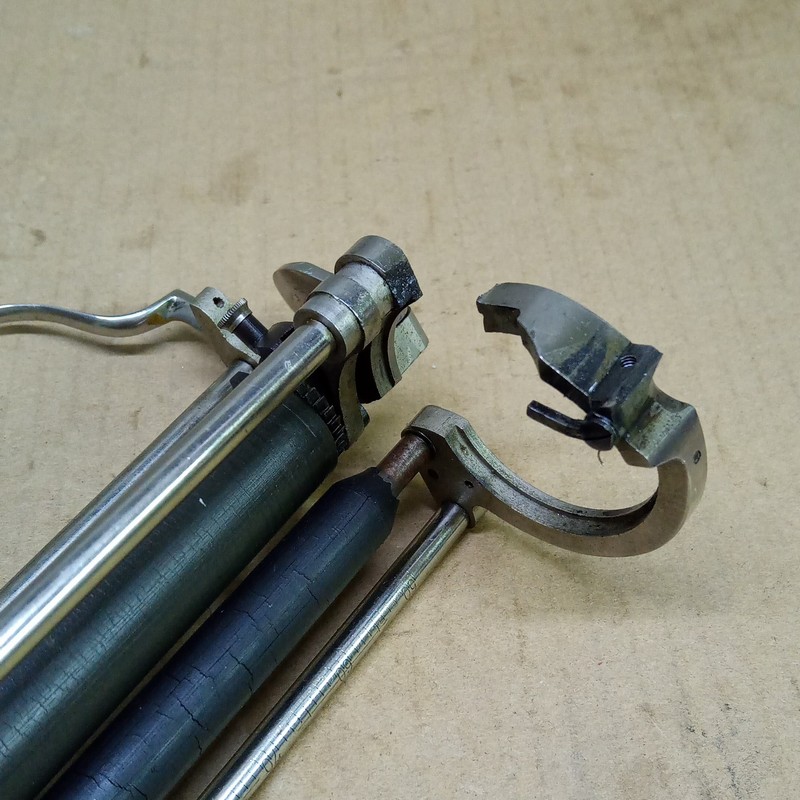
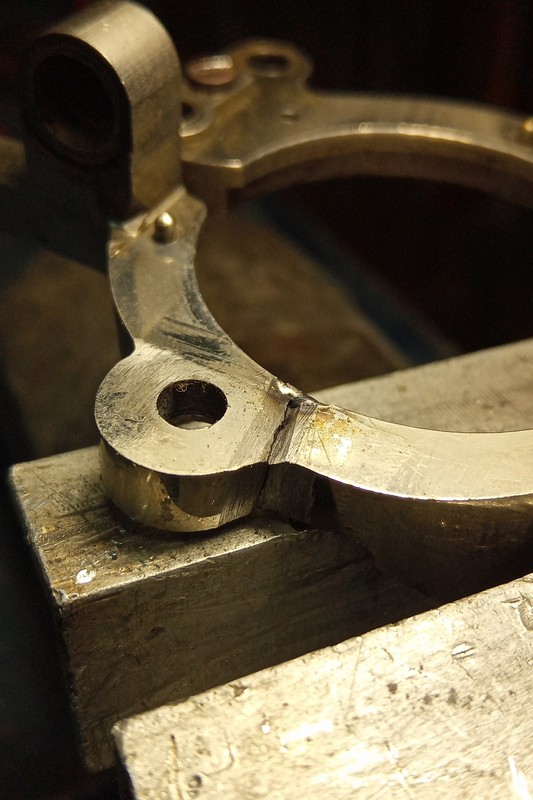
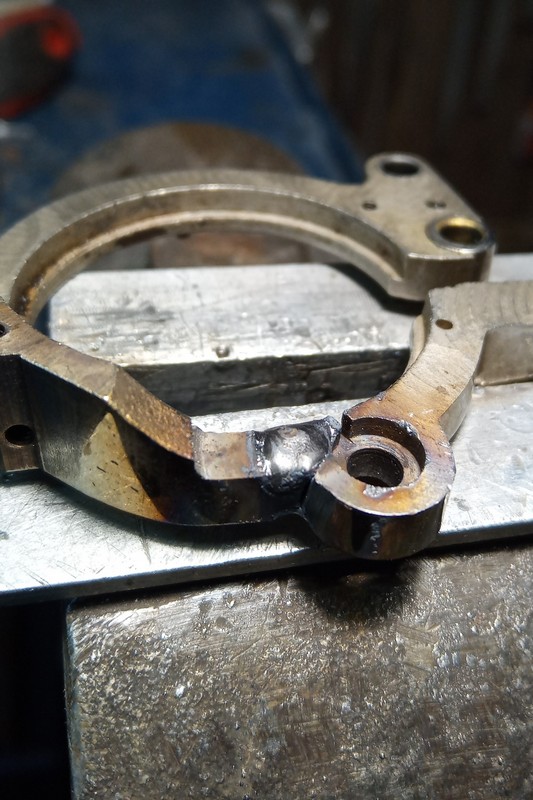
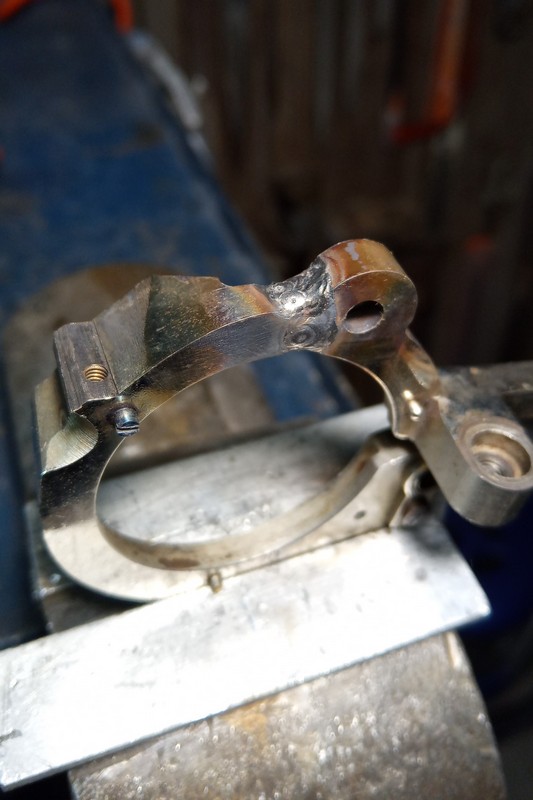
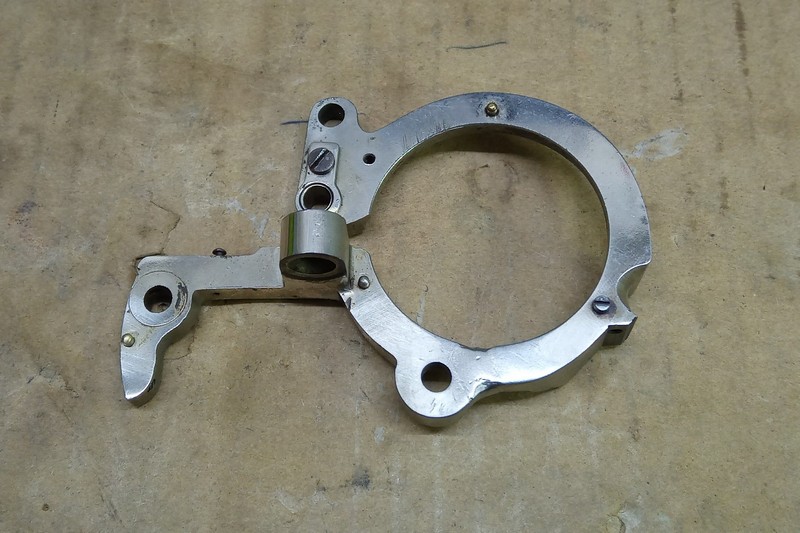
The broken left carriage side plate required particular care during welding, because even a slight misalignment between the two parts could have caused problems with the paper feed as well as incorrect alignment of the rack.
Restoring the appearance of the machine was not the main concern: from a purely practical point of view, almost anything can be welded. The real difficulty was achieving a precise and correctly aligned repair, which is always the uncertain part of this kind of work. Fortunately, the welding was successful and the original geometry was preserved.
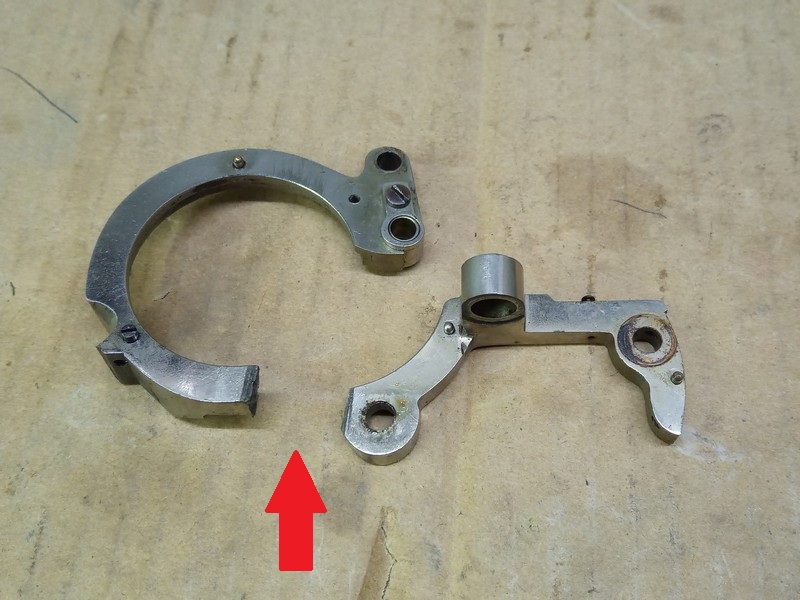
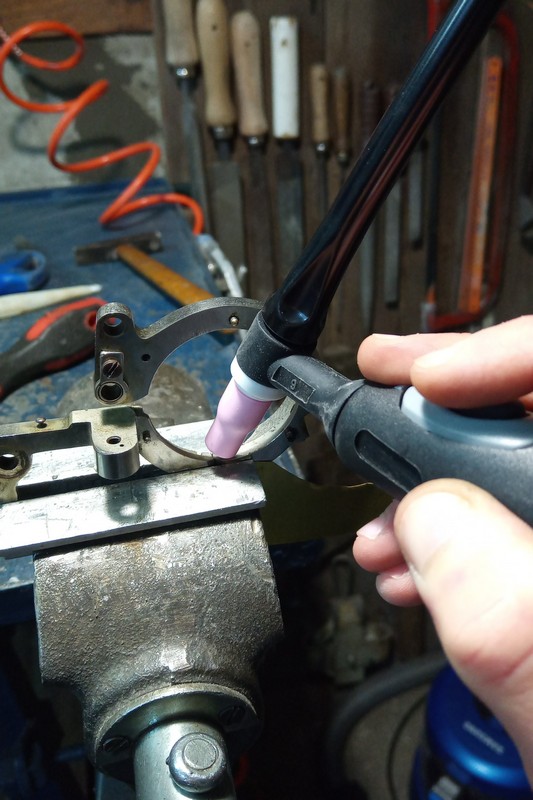
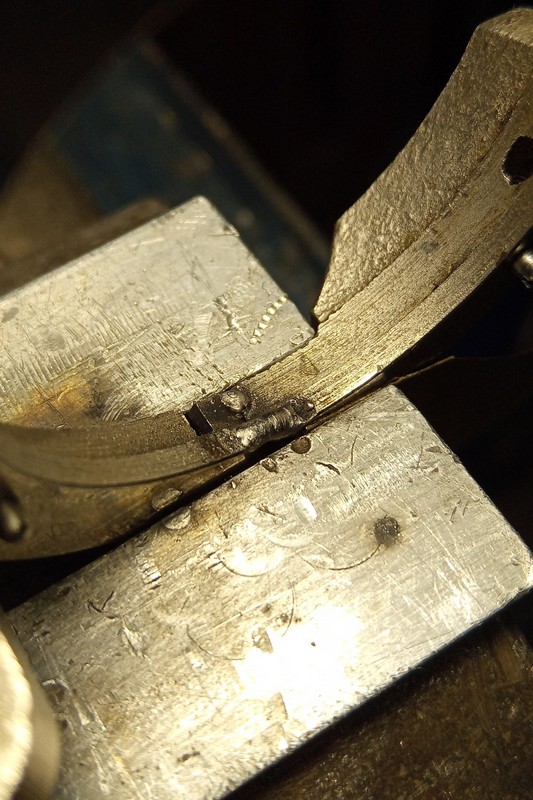
Vescovo Restauri is today one of the very few workshops capable of welding cast iron to a high standard, and below we will follow the work step by step. The process used was TIG welding with a cast-iron filler rod.
The broken Left Carriage was aligned, tack-welded into position and, before the final welding, its geometry was checked with a bevelled engineer’s square. Where necessary, the weld bead was ground away; where this was not required, it was left in place to provide greater strength.
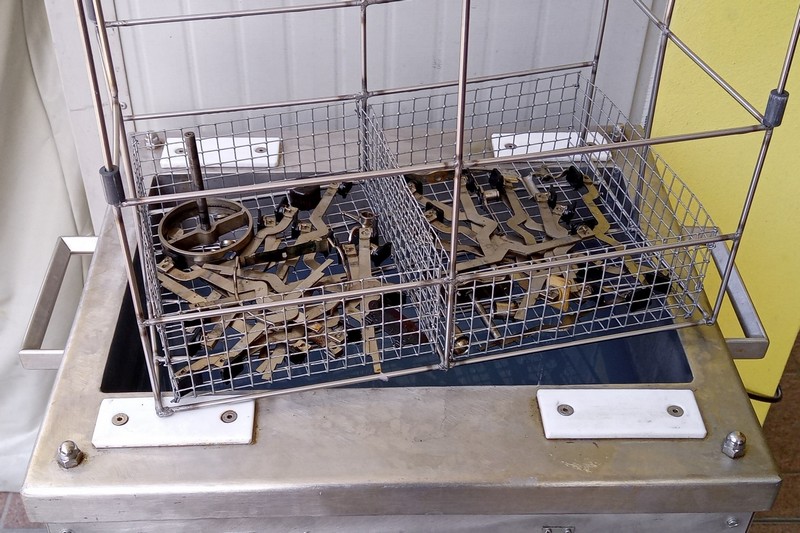
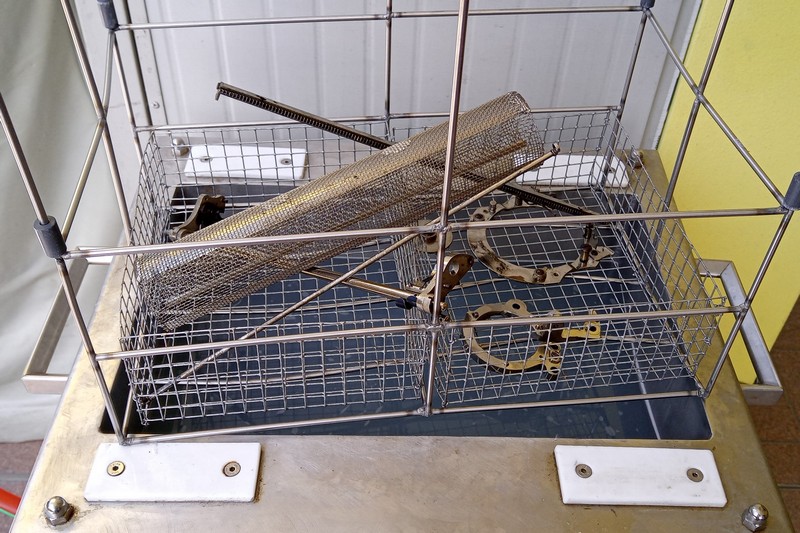
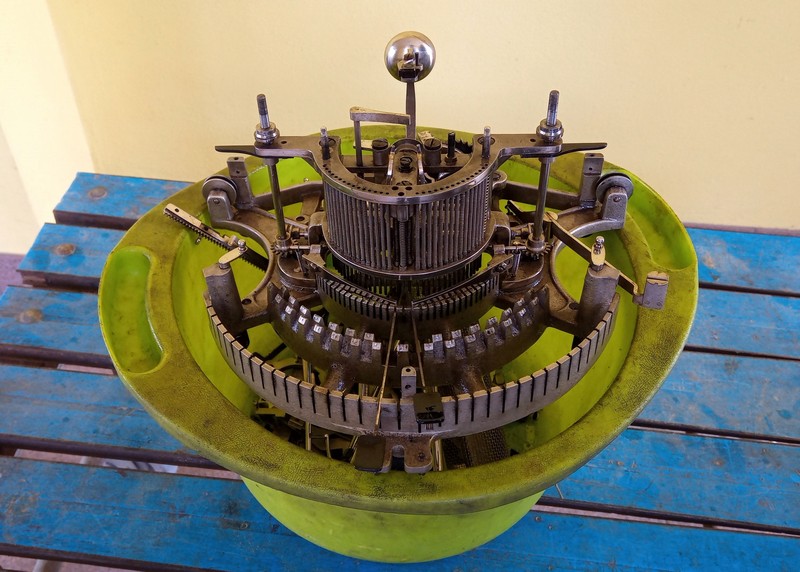
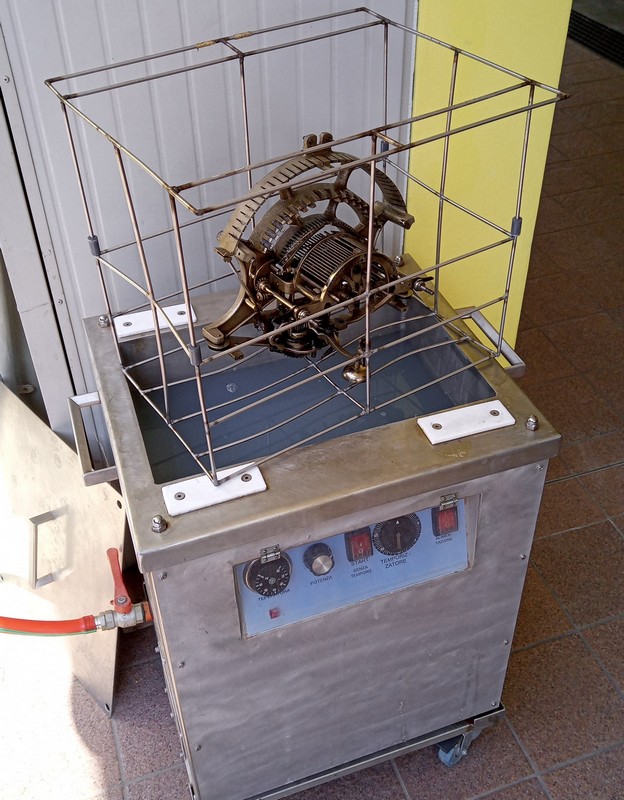
Against stubborn dirt dried after fifty or more years of neglect, the classic combination of kerosene and a brush would achieve very little. I am referring specifically to dried correction fluid, eraser residue —sometimes melted by the heat of an attic—, hardened grease, deposits of sebum mixed with dead skin, and so on. The ultrasonic cleaning tank I use in my restorations was built by a specialized company and is specifically designed and custom-made for cleaning typewriters.
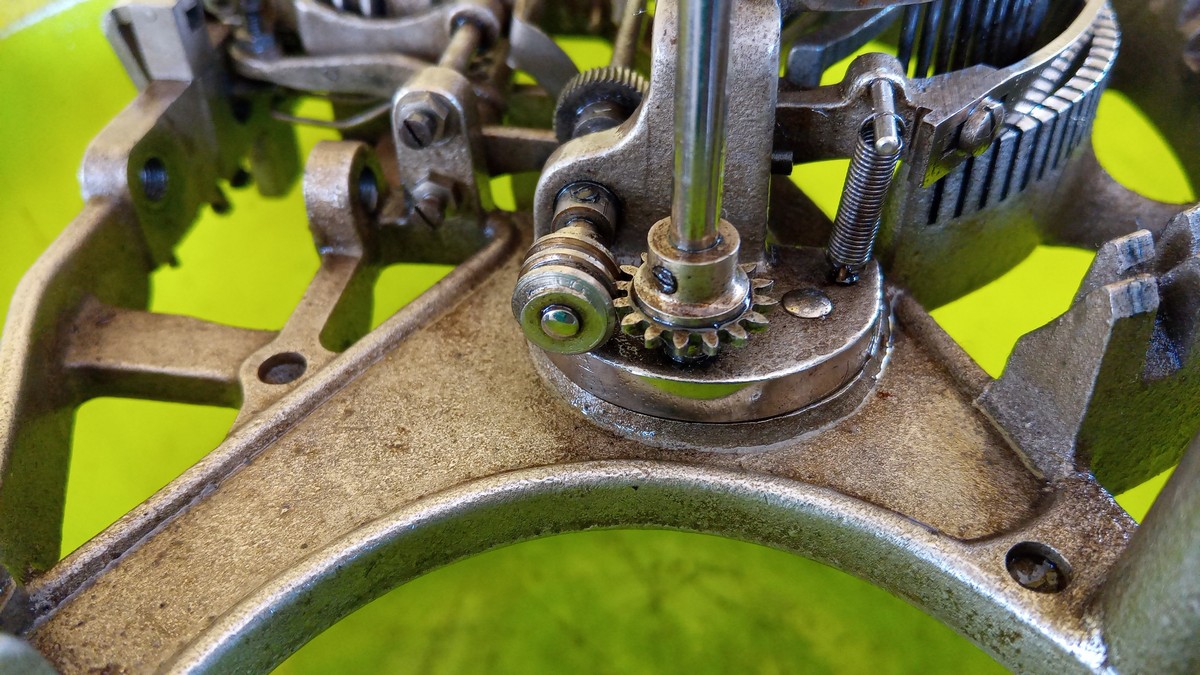
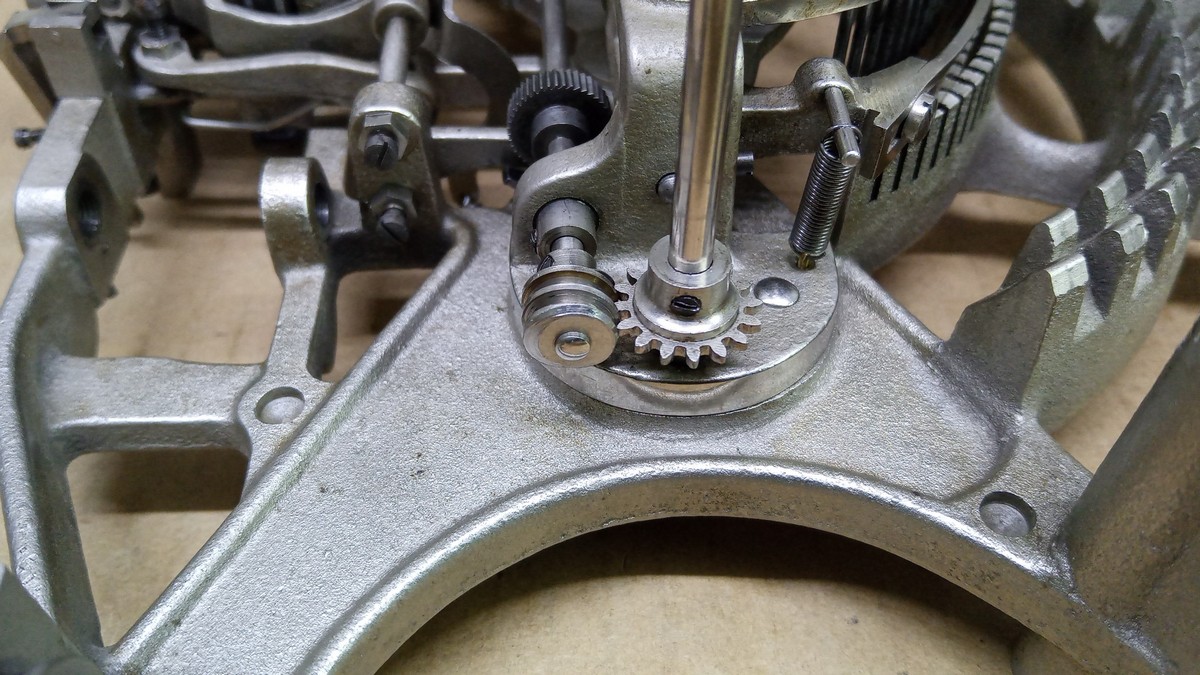
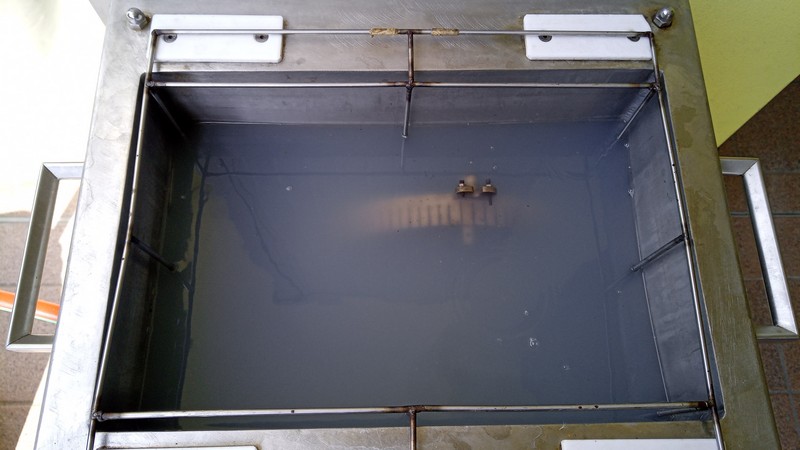
How does it work? The phenomenon involved is cavitation. The powerful waves generated by the sonotrodes are transmitted into the water, creating microbubbles at extremely high pressure that implode upon contact with the object. Using a simple solution of water and soap, a combined action is achieved: a physical high-frequency “micro-brushing” effect together with the degreasing action of the detergent dissolved in the bath. The result is excellent, with a low environmental impact when biodegradable soaps are used.
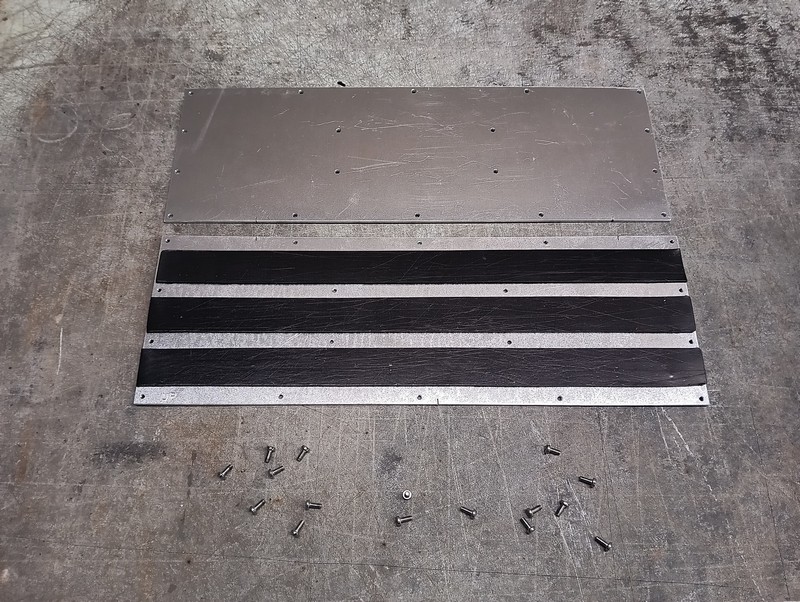
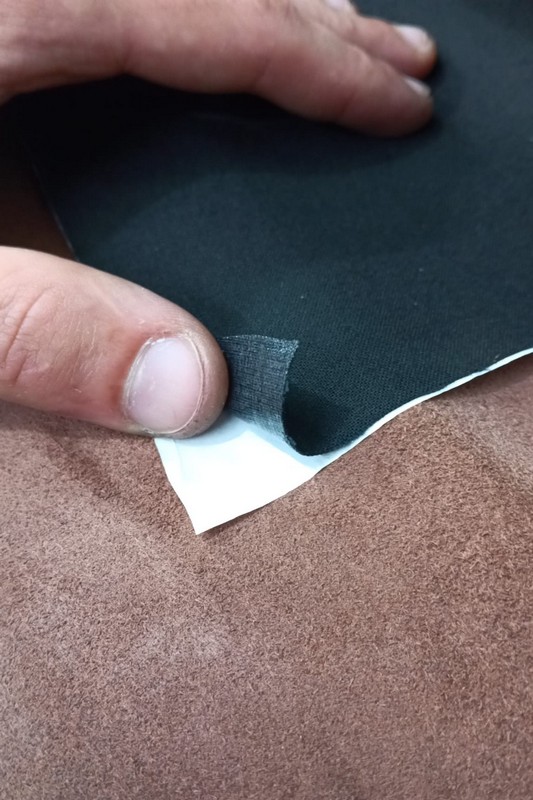
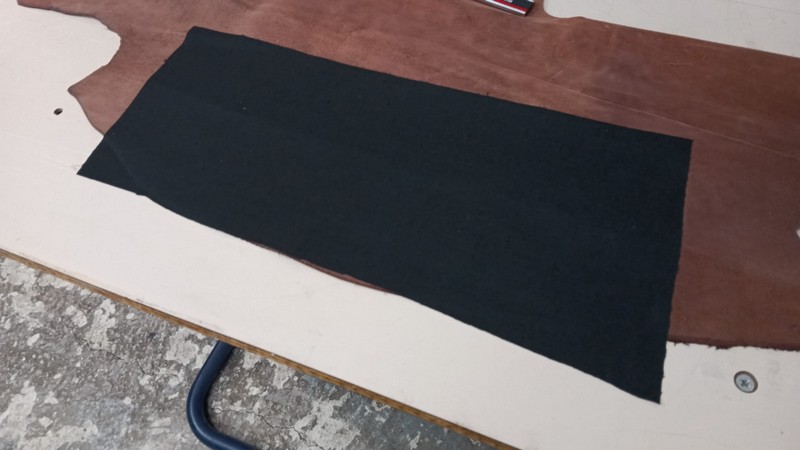
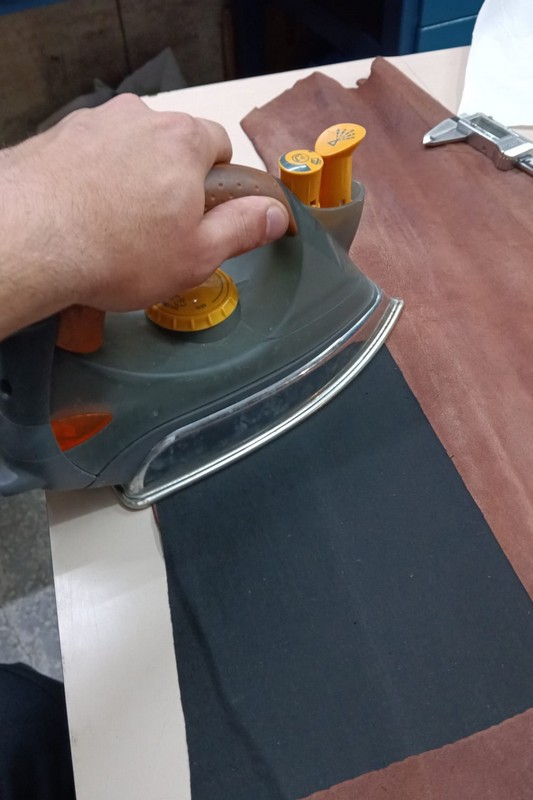
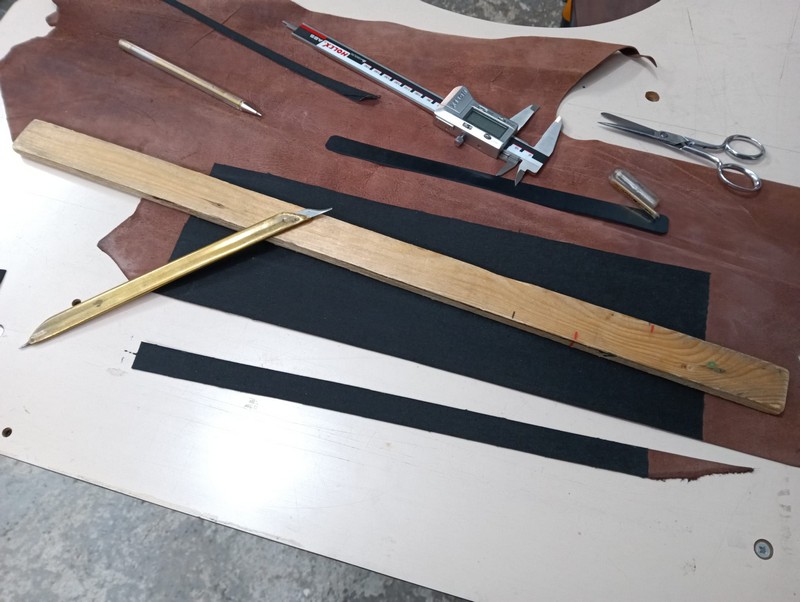
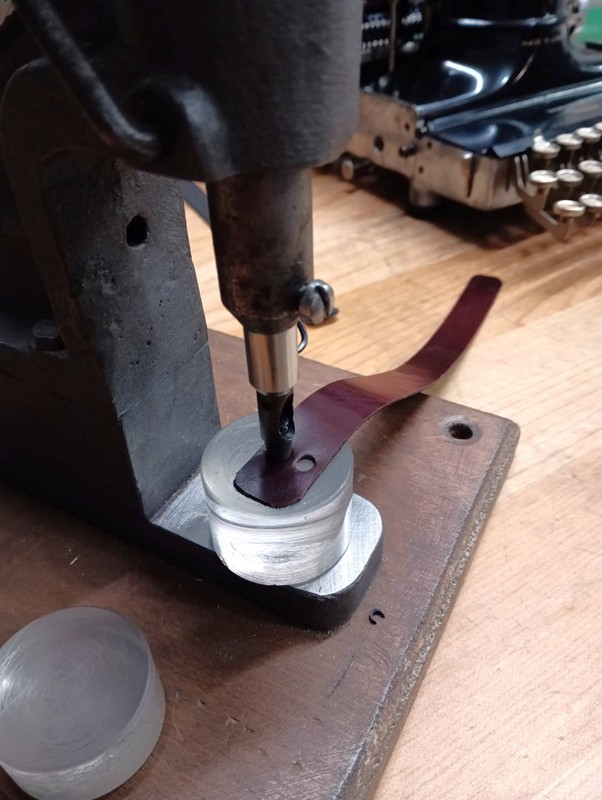
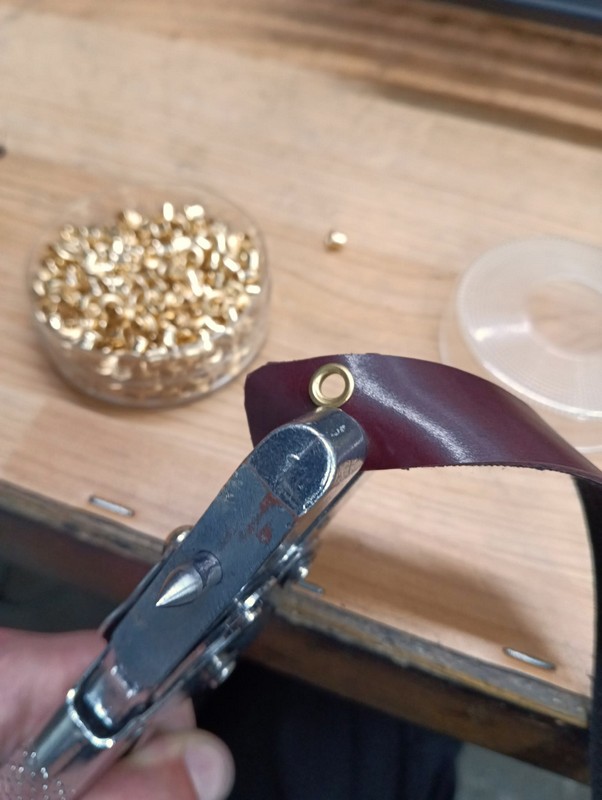
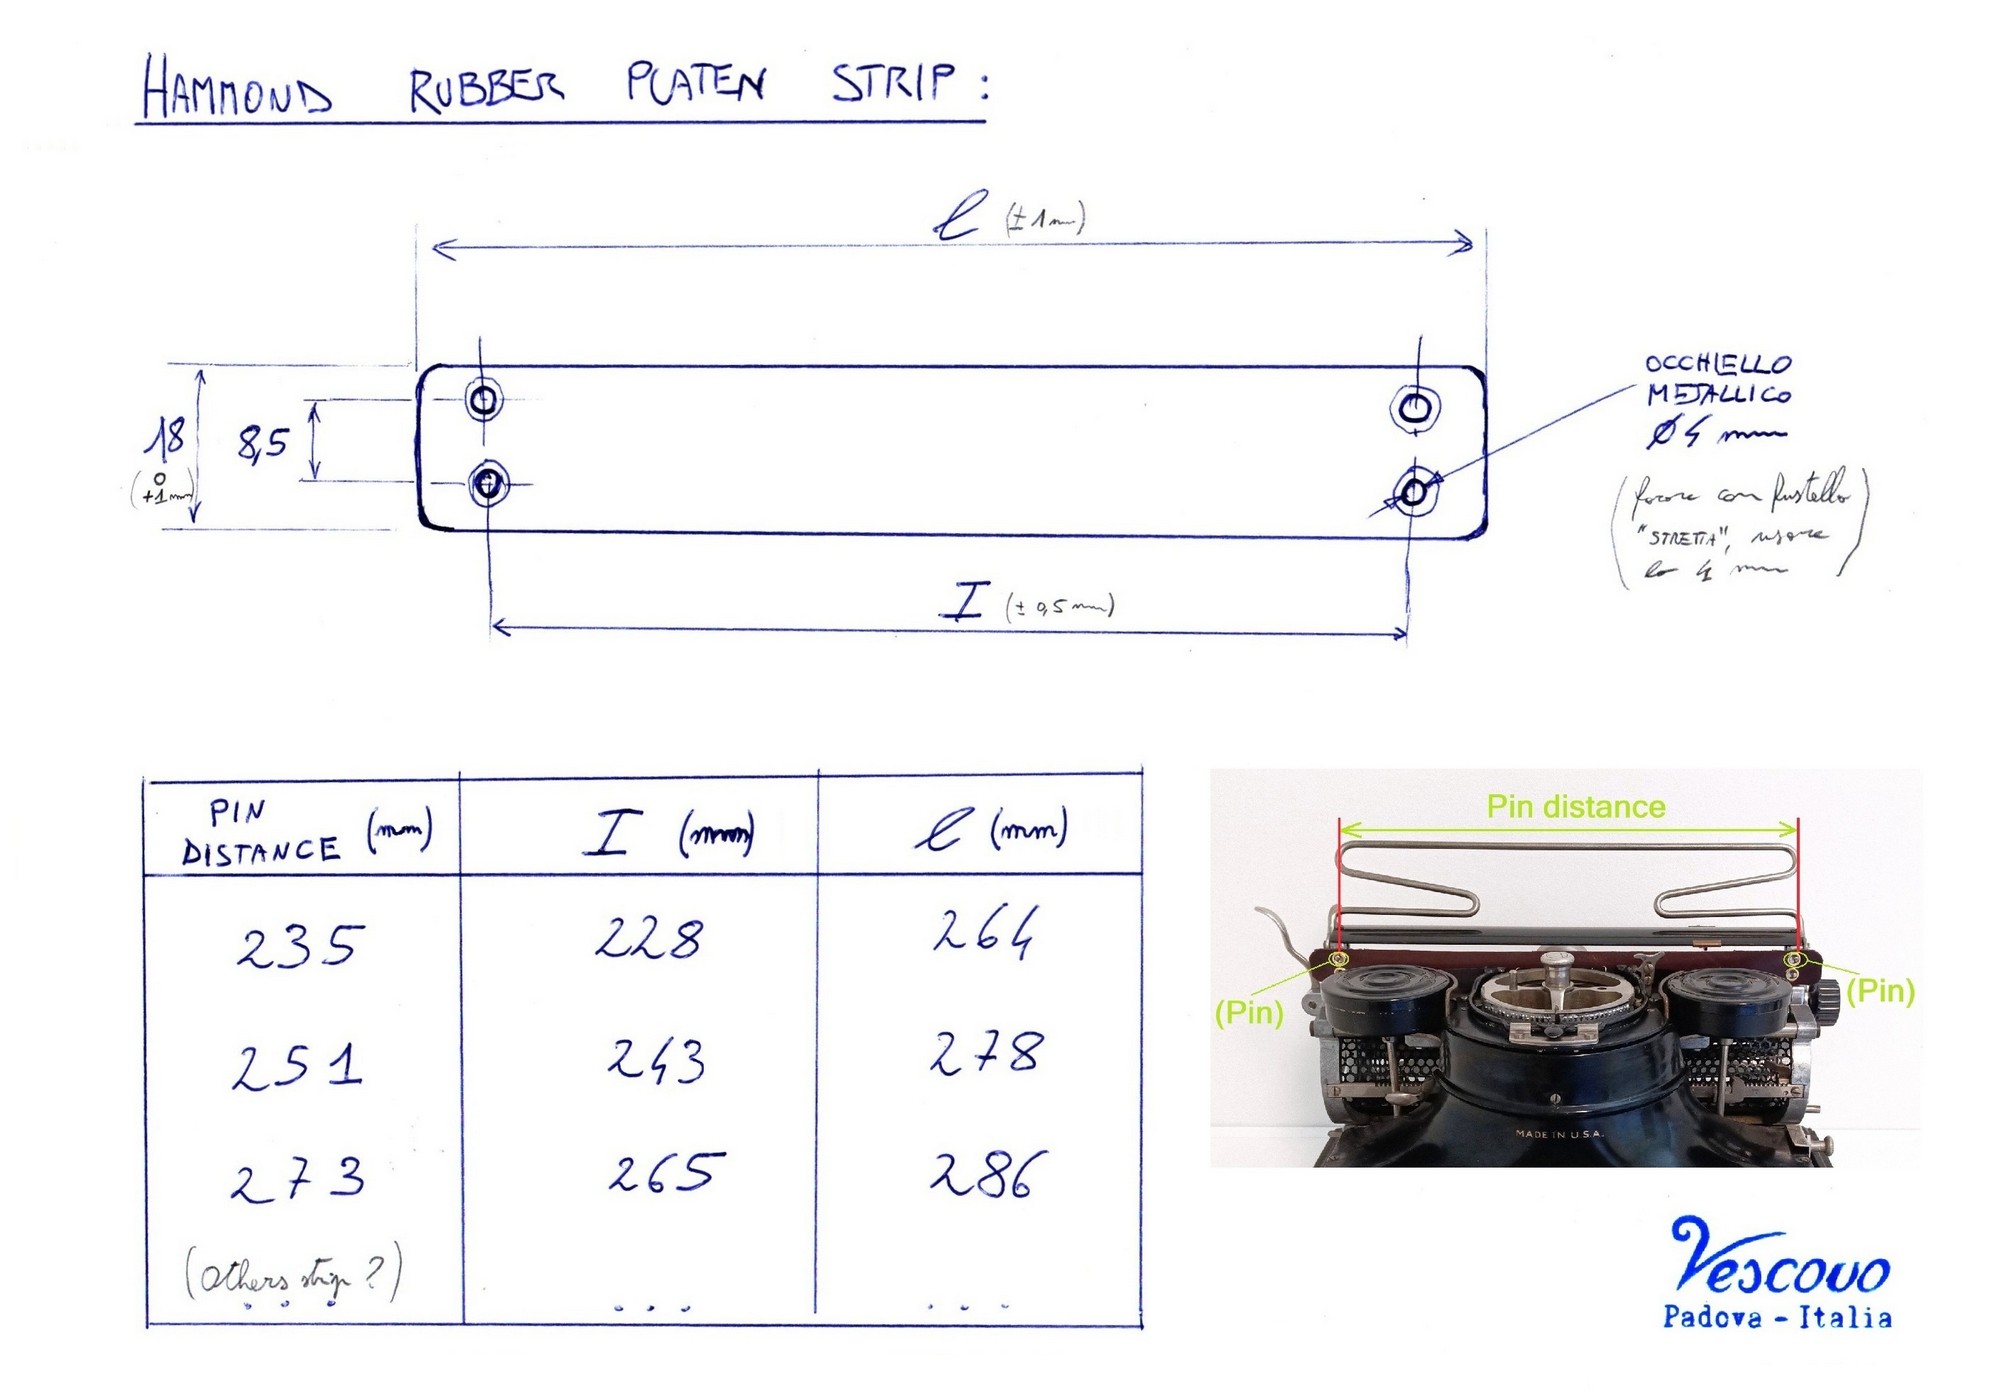
Hammond typewriters do not print against a platen in the conventional way used by most other typewriters, but against a strip of flexible material. Historical sales brochures confirm that two different solutions were used: a rubber strip or the so-called “Gossamer”, an extremely thin natural leather strip reinforced on the back with a bonded fabric layer, designed to absorb the impact of the hammer without damaging or fraying the leather.
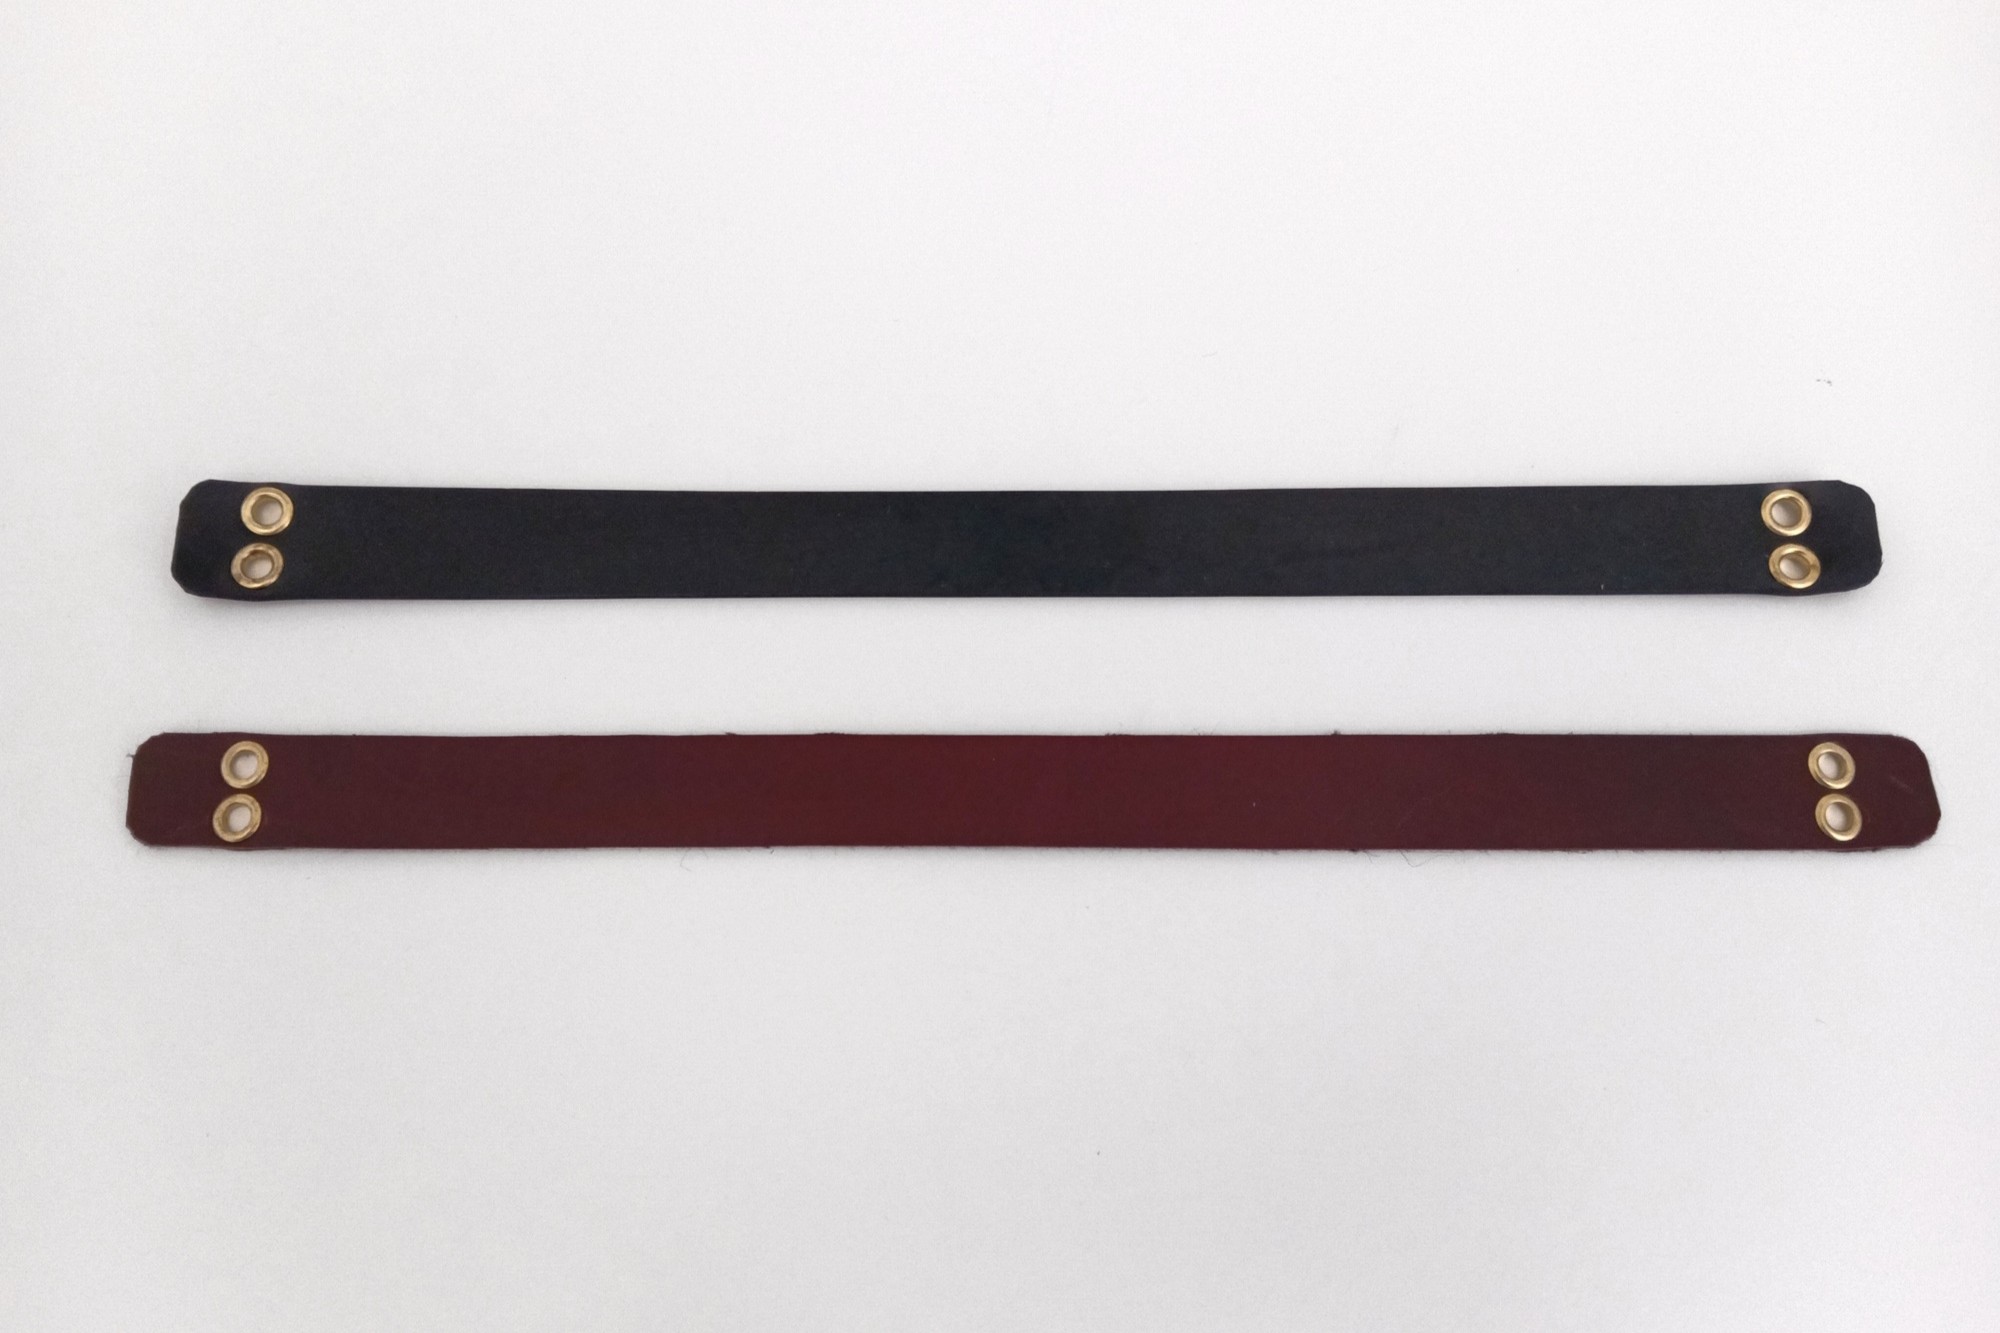
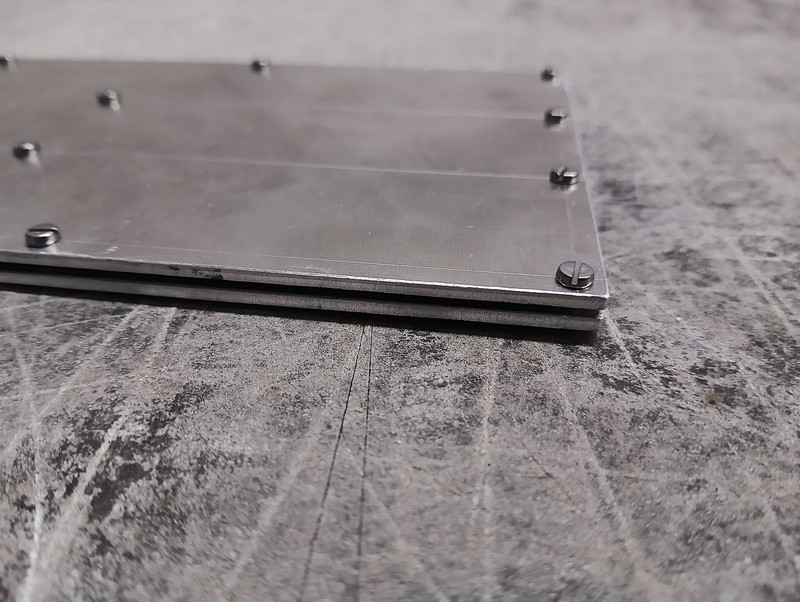
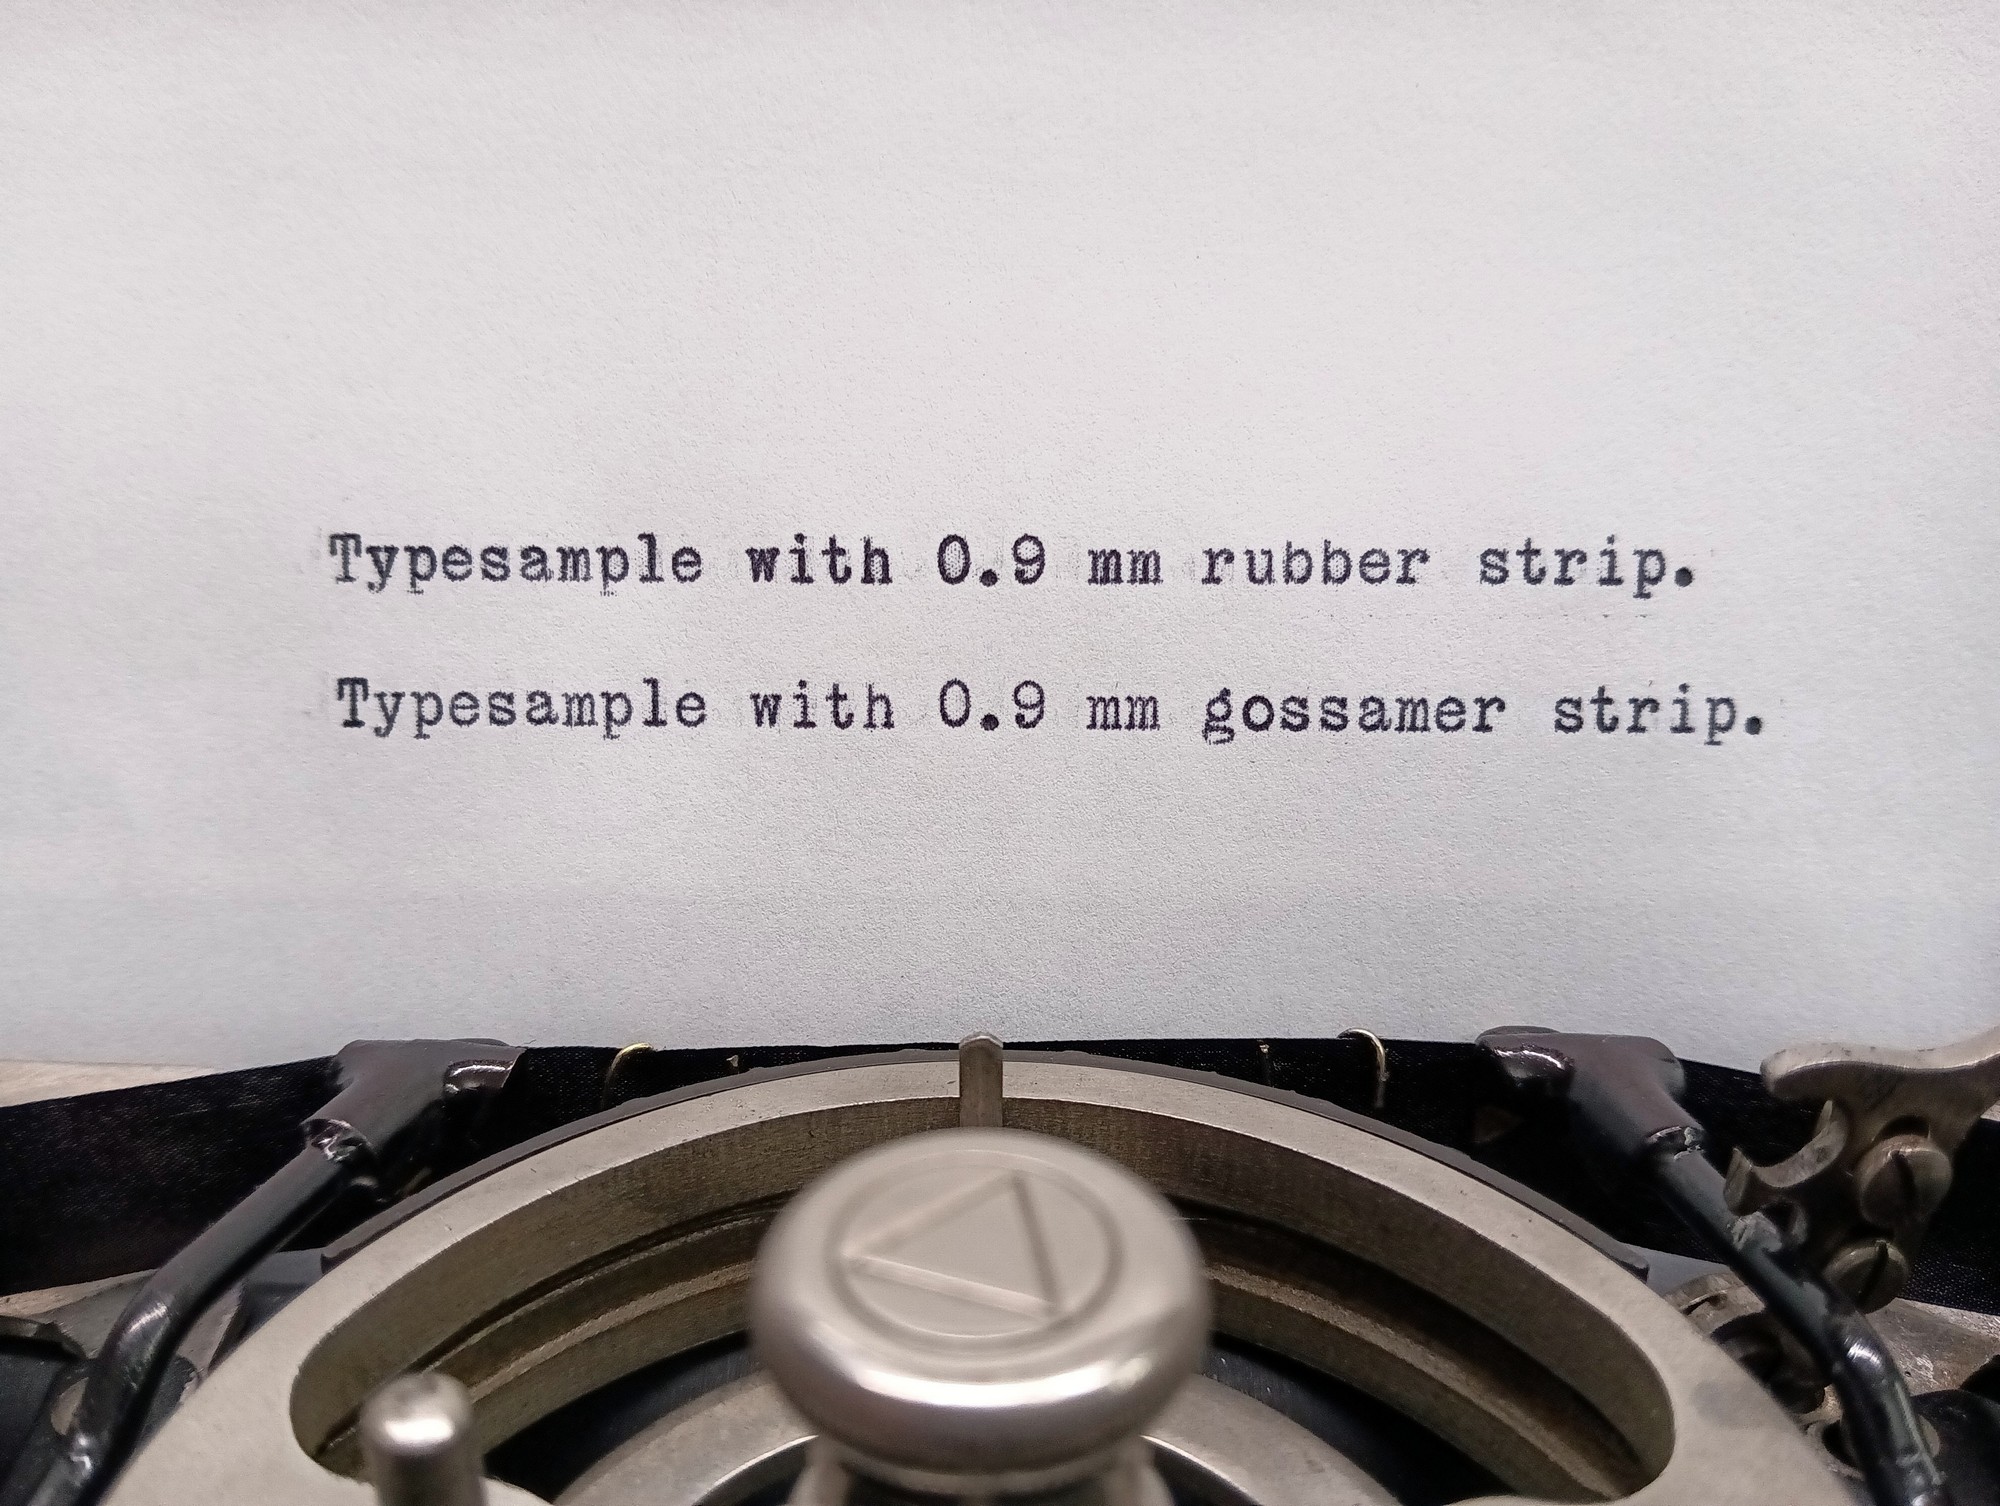
I reproduced both types of strip with the same thickness of 0.9 mm and carried out several comparative tests. The results were remarkably similar. If one wishes to distinguish between them, the rubber produces a slightly fuller type impression, while the leather gives a somewhat finer result. In practical terms, however, both solutions proved fully satisfactory. The rubber strips were made from an 88 Shore A typewriter printing rubber compound, compression-moulded on a specially made aluminium former and then vulcanised in an autoclave.
Further experimentation will certainly follow in the future, particularly with the production and testing of an extremely thin 0.6 mm rubber strip.